
Many #unidigadv students continue their personal branding website after our class project is complete – a few just like to have it online to refer to on their resume or portfolio site. This article will walk you through how to export your UNI WordPress website.
If you just want to save your WordPress posts and pages as work samples, you can read my post on how to simply print them from your web browser as PDF files or use a screen capture extension to take full-page screenshots of each of your posts.
If you want to transfer your entire site to a new location where you can keep it active and add more content in the future, this article will take you through the steps needed to migrate your WordPress site from the UNI server to a new location that you will control and maintain.
1. Install the “All-In-One WP Migration” Plugin and Export Your WordPress Site
Log in to your UNI WordPress account and mouse over the “Plugins” menu – click on the “Add New” option. Search for the All-in-One WP Migration plugin and click Install Now.
Once you have installed the plugin, click “Activate” to make it active. Then it will show up on your side nav bar.
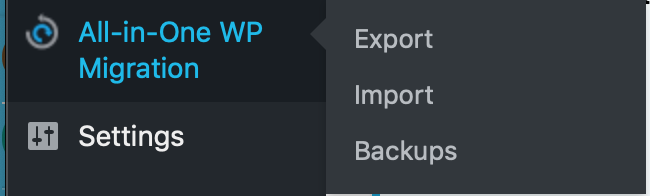
When it does, click on the “Export” option. You should see a dialog box that looks something like this:
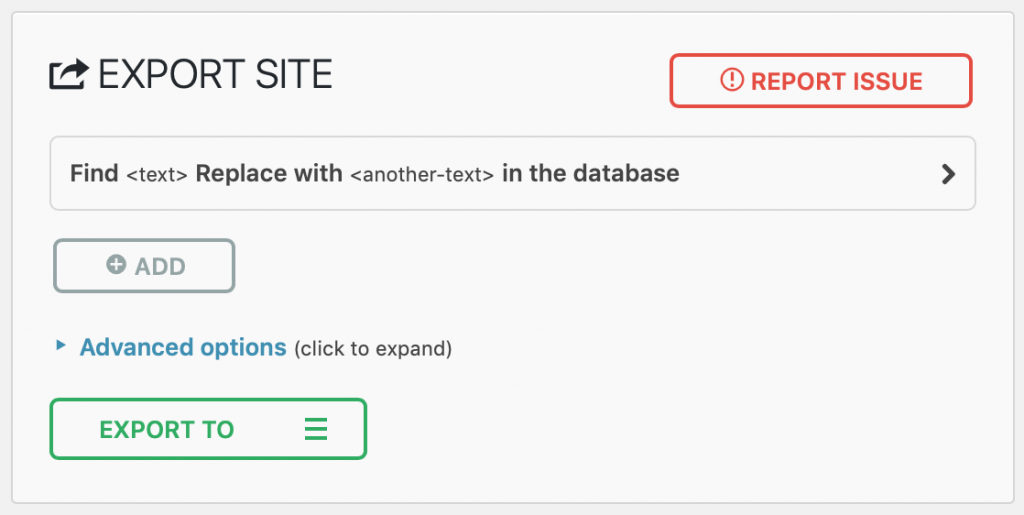
The plugin allows you to export to a variety of formats – the easiest is to export as a FILE.
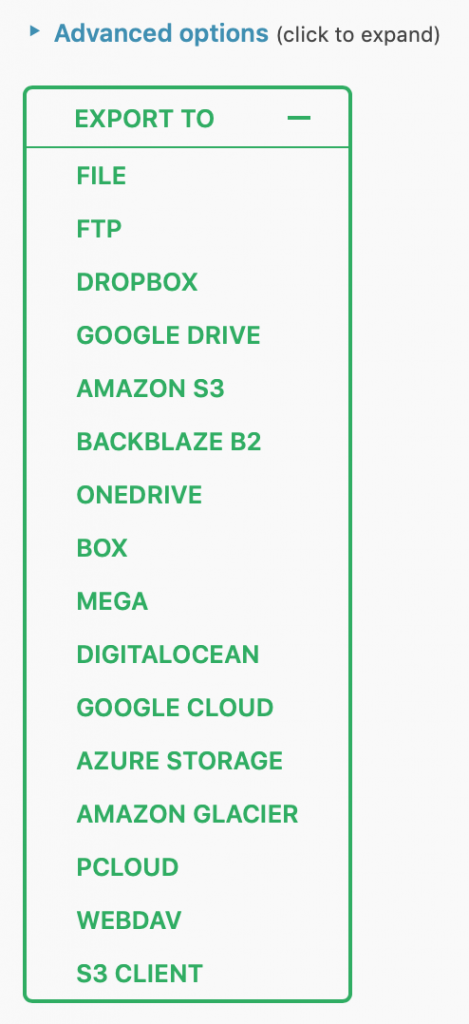
Once you click on Export File, it will take a little time to compress all of your website’s assets into one downloadable file. Once it is done, you’ll be prompted to download it to your local computer.

Once downloaded, save it in a safe place until you are ready to import it into your new WordPress installation.

If you’re not ready to import it anywhere yet – you can keep this file for future use. But if you’re ready to transfer it to a new WordPress installation, go to step 2!
2. Get a Web Hosting Plan and a domain name (URL)
The next thing you need to do is to get a shared web hosting plan. Shared web hosting means you get space on a shared web server. In addition to your WordPress site, you could also host other websites for yourself (e.g. a portfolio site), your projects, or for clients.
Dreamhost offers the best shared hosting package that I’ve found. It includes no storage or bandwidth limitations, unlimited domain hosting, and one-click WordPress installations. They also include a free domain registration with an annual plan. For month-to-month billing the cost is $10.95 / month – but if you prepay for 1 or 3 years in advance, the cost comes down to $9.95 or $7.95 a month respectively.
If you Google “Dreamhost coupon” or “dreamhost discount” often you can find special deals on hosting plans that make it even more affordable.
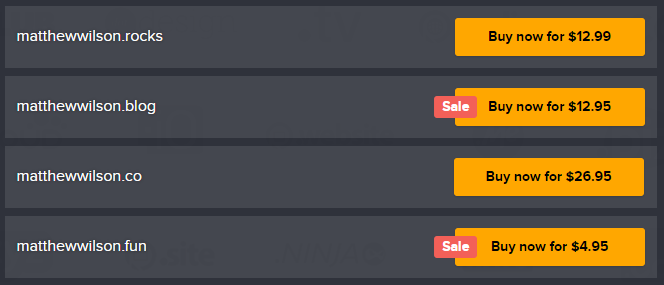
Often hosting plans will include a domain name registration. You’ll want to select a domain that is relevant to your personal brand or your name. Note that many fun Top Level Domains (TLDs) are now available besides the common .COM, .ORG, and .NET.
Once you have a hosting plan and domain in place, you’re ready to install WordPress.
3. Install WordPress
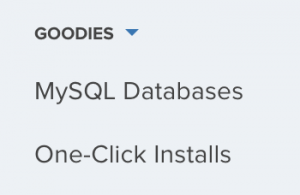
Once you are set up with your Dreamhost account and custom domain, you need to install WordPress. Fortunately, Dreamhost offers a one-click installer for WordPress in the “Goodies” section of their web hosting control panel.
You’ll just need to fill out the domain and subdirectory (if applicable) that you wish to install WordPress into and click “install it for me now”.
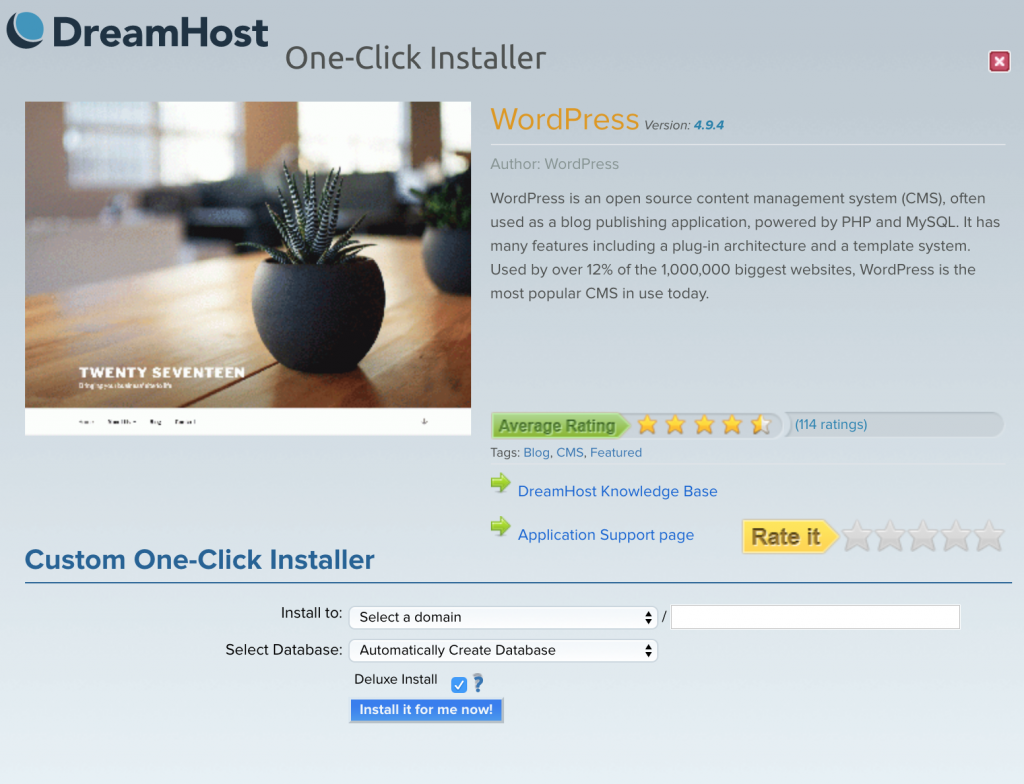
For more information on this step, consult Dreamhost’s help article on installing WordPress with a one-click installer.
4. Install the “All-In-One WP Migration” plugin and Import XML file into your new WordPress installation
Log in to your new WordPress installation hosted on your new Dreamhost account. Download, install, and activate the All-in-one WP Migration plugin like you did in step one. Then under the menu click on the “import” option.
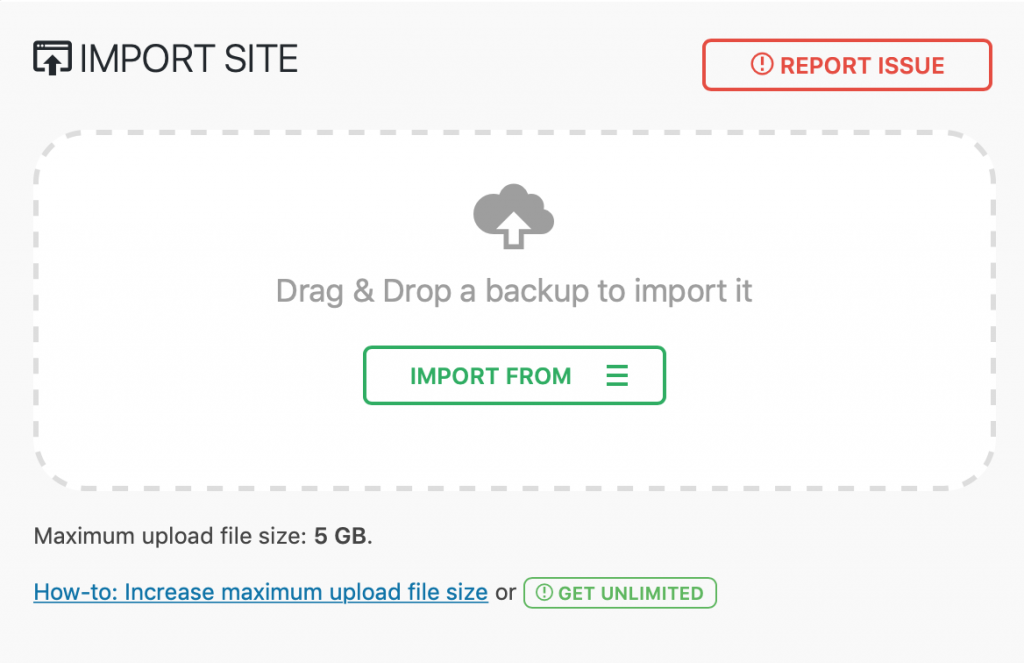
Click “Import From File” and navigate to the exported file you created in step one.
It may take a little time, so be patient as it imports.
5. Check your imported content
Generally, I have found that exporting and importing works pretty flawlessly as far as the content goes – but you may have to do a few things to bring your site back to its former perfection:
- If you used a custom theme, you’ll need to install and apply that theme on your new WordPress installation.
- If you tweaked your theme’s customization options on the old site, you may need to re-apply those changes manually to your new site.
Once you’ve double-checked that all of your content imported correctly and that your site’s theme looks correct again, you should be good to go.
6. What about your old WordPress site on the UNI server?
UNI IT will automatically remove your old site – there is no need to do anything else on the UNI server.
That’s it! You now have a new WordPress installation with all of your old content running on a shared hosting environment.